Introduction
You know what React is and you might even have an idea of where to use it. Now, it’s time to start figuring out how.
This lesson is going to cover starting a new React project on your machine, as well as some useful tools to help you along the way. We’ll also explain some of the problems that may arise (and how to avoid them).
Lesson overview
This section contains a general overview of topics that you will learn in this lesson.
- How React projects can be created.
- How to use Vite to create new React projects.
- How to format the code in React projects.
- What React Developer Tools are.
Many paths
There are multiple ways to start using React in your projects, from attaching a set of <script> tags which serve React from a CDN, to robust toolchains and frameworks that are highly configurable and allow for increased scalability and optimization.
Some examples of these toolchains include:
- Vite’s React Config
- Gatsby
- NextJS
- Create React App (Deprecated)
Why do we need these toolchains? Can’t we just make our own as we see fit?
Yes, but it’s hard. React is a complex beast and there are many moving parts. Before you can start writing any sort of code that provides functionality, you would need to configure at least the following:
All of this, and sometimes much more, is required to get a React project and development environment up and running.
A note on Create React App
Create React App, or CRA, was the official way to scaffold new React projects since its introduction in 2016. Unfortunately, owing to many reasons, CRA was deprecated in early 2023. Due to CRA’s popularity, you’ll see it mentioned in many tutorials and guides. However, it’s no longer recommended to use it for new projects.
Simplifying the process
Now that you understand what is involved with starting a React project from scratch, you can breathe a sigh of relief to learn that we can get started with a single terminal command. We’ll be using Vite’s own React template to scaffold our project, just like if we made and used our own template repo.
Vite builds frontend tools for developers and it leverages the latest technologies under the hood to provide a great developer experience. Fortunately, it also caters to the React ecosystem. We will use Vite’s CLI to quickly create a template React project. It requires minimal configuration and provides extremely useful tools right out of the box, allowing us to get straight to the learning. Let’s get started!
Creating a React app
Please make sure that you are using the latest LTS version of Node, otherwise errors may occur. Open up the terminal and the folder containing your projects. Then enter the following command (you can replace my-first-react-app with any name you want):
npm create vite@latest my-first-react-app -- --template react
You may be asked if you want to install the create-vite package, in which case you should accept by typing y then hitting Enter. If it asks you any questions about using experimental features, you can answer no to them. Finally, answer yes to Install with npm and start now?.
Once the command has executed, it should output the following:
➜  Local:   http://localhost:5173/
➜  Network: use --host to expose
➜  press h + enter to show help
Provided everything has gone according to plan, head over to localhost:5173, where you’ll be greeted with the following page:
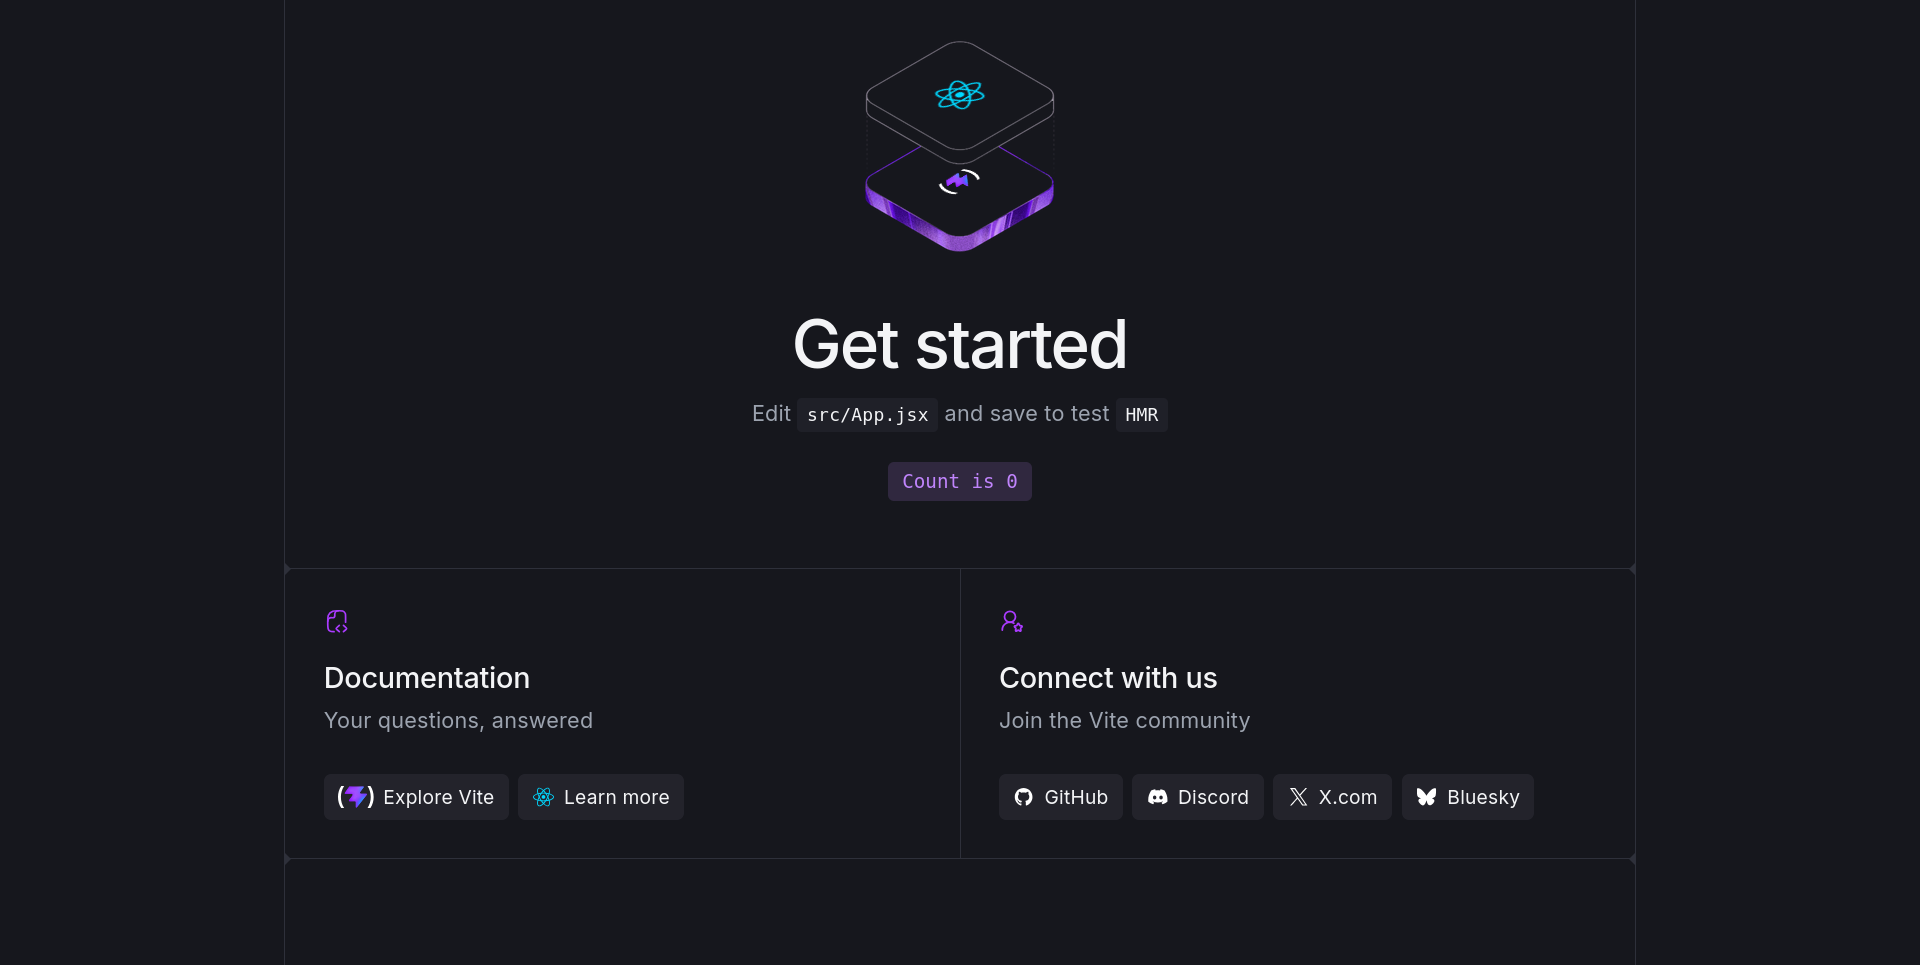
Congratulations! You’ve created your first React app. You can now exit out of the dev server (Ctrl + C) and cd into your project directory. You can start the dev server any time within the project directory by running npm run dev.
To link your local project directory to a GitHub repo, create a new empty repo on GitHub then follow the instructions in the new repo’s page to connect it to your local project directory.
Using an existing repo
Alternatively, if you created a GitHub repo already and cloned it, you can cd into your cloned repo then run the above Vite command, using . as the project name:
npm create vite@latest . -- --template react
This will tell Vite to use the current directory for the project, instead of creating a new directory with the given project name. This cloned directory will already be initialized as a git repo and connected to the right remote.
Delving deeper
Let’s take a closer look at our new project. Inside, you will find some folders, as well as package.json, package-lock.json, .gitignore, and README.md files. The README.md contains some useful information that you should take the time to skim through now.
The public folder is where all of the static assets related to your app will go. This could include images, icons, and information files for the browser.
Inside the src folder is where you will find the code that runs your app. The main.jsx file here serves as the entry point of the application. Let’s open the main.jsx file and see if we can understand what’s going on:
import { StrictMode } from "react";
import { createRoot } from "react-dom/client";
import App from "./App.jsx";
import "./index.css";

createRoot(document.getElementById("root")).render(
  <StrictMode>
    <App />
  </StrictMode>,
);
Whoa! There’s quite a lot here. You are not expected to recognize much of this (if any) right now. Here’s a brief rundown of what is happening:
- We import
StrictModeandcreateRootfrom thereactandreact-dompackages respectively. - We import the
Appcomponent fromApp.jsx, so that we may place (render) it within the DOM. - We import some CSS styling (you may recognize this syntax from the Webpack material).
- We create a
rootobject by invokingcreateRootwith an element from ourindex.html. - We invoke the
rendermethod, which is attached to ourrootobject, with some very interesting-looking syntax inside the parentheses.
All of this may understandably look unlike anything you’ve seen up until now, but have no fear, once you’ve spent the time with this course, you’ll know exactly what all of this does, and much more.
Developer tools
As you progress with React, your projects will undoubtedly become larger and larger and include more and more components, with increasing levels of functionality.
When this happens, it’s useful to be able to track (and make live changes to) the moving parts inside of your app for understanding and debugging your code. To this end, we can use a Chrome extension called React Developer Tools.
We recommend installing this and becoming comfortable using it as early as possible as it’s an invaluable tool for effective React development.
Assignment
- Review this material by reading through Vite’s Getting Started Page.
- Check out this guide for React Developer Tools to begin learning how to use it (don’t worry if you don’t understand some of the details yet).
- Try to clean up your
my-first-react-appproject so that it no longer displays the default page. See if you can get it to display a “Hello, World!” message instead.
Knowledge check
The following questions are an opportunity to reflect on key topics in this lesson. If you can’t answer a question, click on it to review the material, but keep in mind you are not expected to memorize or master this knowledge.
- What are some of the ways we can start a new React project?
- Why should we initially be using pre-made toolchains instead of making our own?
- What is Vite and why would we use it?
- What command can we run to scaffold a new React project using Vite?
- What is in the
publicfolder? - What is in the
srcfolder? - Why are the React Developer Tools useful?